
Caddy is a new webserver with very interesting features, like automatic HTTPS or serving markdown files and turning them into HTML on the fly. It’s written in Go, so you get a complete binary without any other system dependencies.
It will replace Nginx or Apache in your stack. I understand it’s scary to use something else than Nginx, but automatic on-demand SSL certificates made me switch! Only by turning on a feature, Caddy will get a certificate via Let’s Encrypt automatically. All certificates are renewed automatically when necessary.
I’m working on an app where every user can bind a domain and have their own public site. I need to get SSL certificate for all domains easily, and Caddy offers just that. You can even plug it to your app so Caddy will check if a domain is allowed before turning on TLS.
This post focuses on how to install Caddy with PHP-fpm on Ubuntu 18.04. I’ll keep this post focused on the install process so I can reference it in other posts about Caddy. My app is built with Laravel so in another post, I’ll write about how to handle:
- On-demand SSL certificate with domain validation
- Running a Laravel app with Caddy
#Setup server basics
I usually start by installing some utilities I know I always need. When sudo asks what configuration file to use, I always take the maintainer’s one.
apt install -y vim tree sudo zip unzip sqlite members libcap2-binI don’t like running things as root so I create a new julien user . This user is used to maintain the server, check logs and other things.
useradd -m -G sudo -s /bin/bash julien
passwd julien
By default, users can’t login because they have no associated password. It’s actually good because all the other users we’ll create will be used to run software and shouldn’t be used to log in with. For this one, we needed to create a password.
#Install Caddy
Now we’re going to install Caddy. It has 2 licenses available, I’m going to install the Personal one for this tutorial, but please look if you need the commercial license.
I’d also recommend to go on the website and have a look at all the other plugin available, in case some are relevant for you, add them to the list.
curl https://getcaddy.com | bash -s personal http.cache,http.cors,http.expires,http.geoip,http.git,http.ipfilter,http.locale,http.nobots,http.ratelimit,http.realip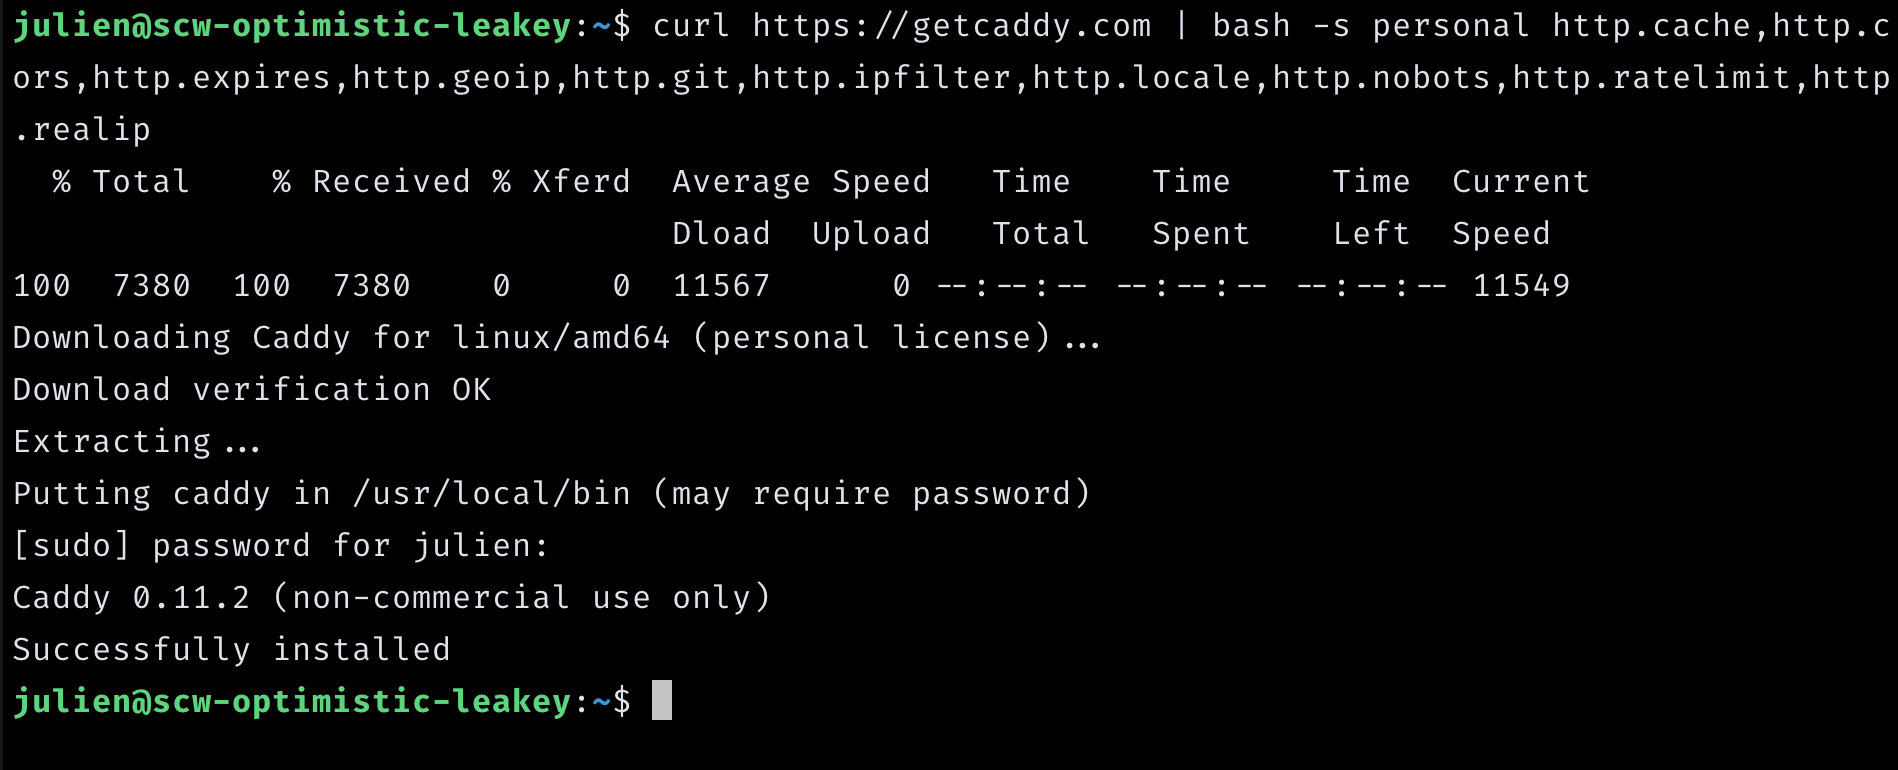
Caddy will run with its own user, we won’t log in with it so we create it without shell.
sudo useradd -M -s /bin/false caddyCaddy will need some folders with the correct rights to store configuration and logs.
sudo mkdir -p /etc/caddy
sudo mkdir -p /var/log/caddy
sudo chown -R caddy:root /etc/caddy /var/log/caddy
Caddy will need to listen on port 80 and 443, which are the standard ports for HTTP and HTTPS. There is one easy way to give a program the rights to bind to ports less than 1024 without being root. In the very first step we installed libcap2-bin, it’s time to use it.
sudo setcap cap_net_bind_service=+ep /usr/local/bin/caddyNote that if you ran the previous steps directly as root, caddy might be located in /usr/bin/caddy instead.
#Setup example website
Before going further, we want to make sure everything works. We’ll make a little “It works!” HTML page and serve it with caddy.
Create a /var/www/demo/index.html file
<!doctype html>

<html lang="en">
<head>
  <meta charset="utf-8">
  <title>Caddy</title>
</head>

<body>
  <h1>It works!</h1>
</body>
</html>
Let’s create our first configuration! We need to create a /etc/caddy/CaddyFile with the following configuration.
mkwp.org {
    redir https://www.mkwp.org{uri}
}

www.mkwp.org {
  root /var/www/demo
  log /var/log/caddy/mkwp.org.log
  tls off
  gzip
}
The first part will redirect the base domain to the www subdomain. Inside the second block, we define respectively:
- where the site lives on the server
- where to store the logs
- to not use SSL (yet)
- to use
gzipto compress your responses
The site is ready to be served.
#Run Caddy as a daemon
We’ll use systemd to run caddy. It makes it easy to run with the correct user, and easy to restart.
Create a caddy daemon definition in /etc/systemd/system/caddy.service . If you decided to store your logs or configuration somewhere else, remember the change the different paths in this file.
[Unit]
Description=Caddy HTTP/2 web server

[Service]
User=caddy
Group=caddy
Environment=CADDYPATH=/etc/caddy
ExecStart=/usr/local/bin/caddy -agree=true -log=/var/log/caddy/caddy.log -conf=/etc/caddy/Caddyfile -root=/dev/null
ExecReload=/bin/kill -USR1 $MAINPID
LimitNOFILE=1048576
LimitNPROC=64

[Install]
WantedBy=multi-user.target
Now, reload the configuration, start the service and check its status.
sudo systemctl daemon-reload
sudo systemctl start caddy
sudo systemctl status caddy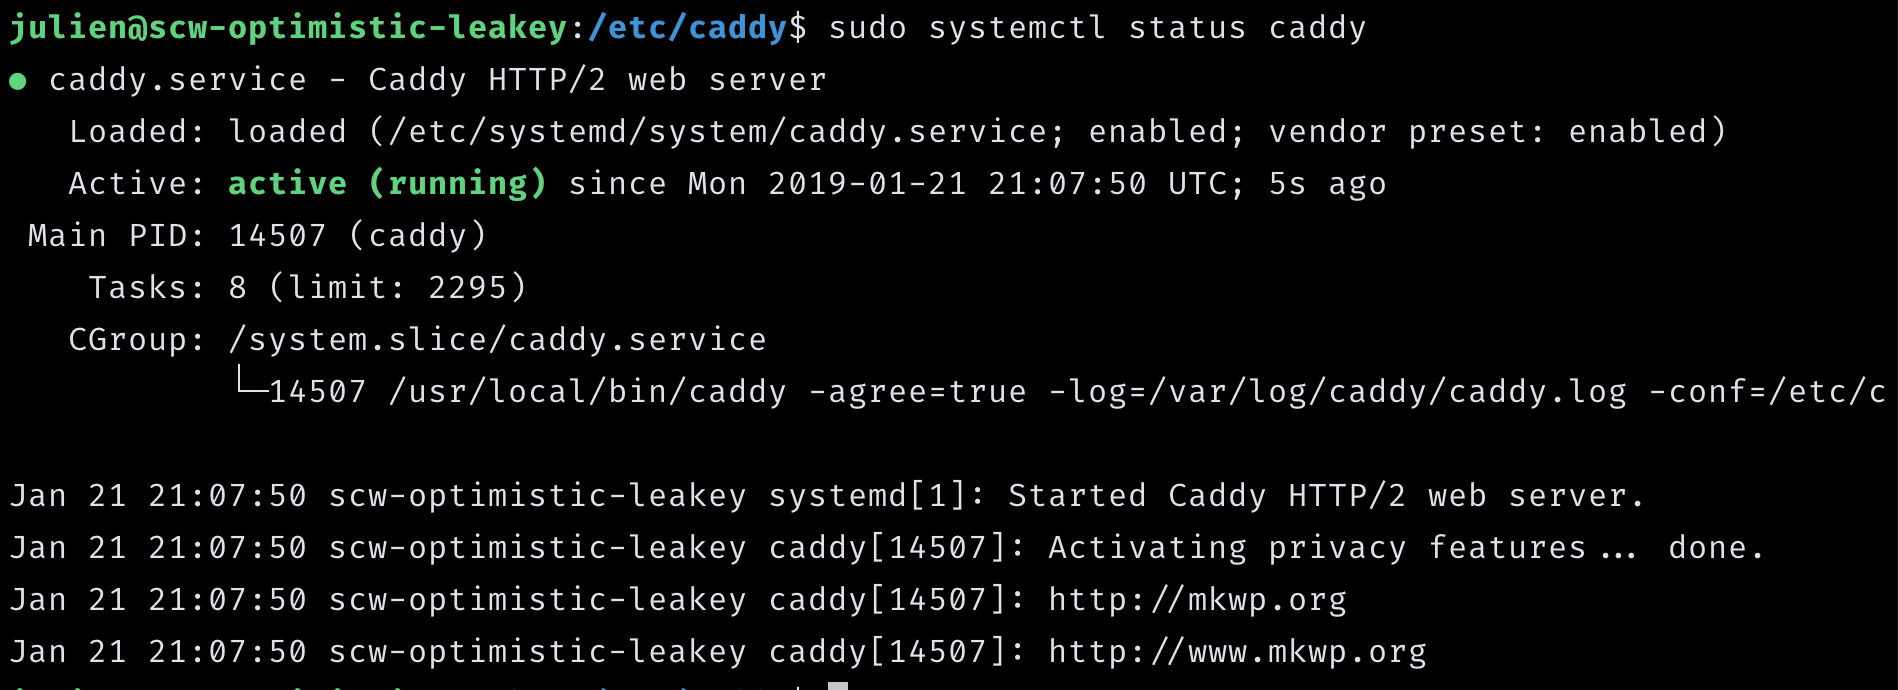
Make sure the daemon is started when the server is rebooted:
sudo systemctl enable caddyjulien@scw-optimistic-leakey:/etc/caddy$ sudo systemctl status caddy
● caddy.service - Caddy HTTP/2 web server
Loaded: loaded (/etc/systemd/system/caddy.service; enabled; vendor preset: enabled)
Active: active (running) since Mon 2019-01-21 22:18:20 CET; 19min ago
Main PID: 14812 (caddy)
Tasks: 12 (limit: 2295)
CGroup: /system.slice/caddy.service
└─14812 /usr/local/bin/caddy -agree=true -log=/var/log/caddy/caddy.log -conf=/etc/c
Jan 21 22:18:31 scw-optimistic-leakey caddy[14812]: 2019/01/21 21:18:31 [INFO] [www.mkwp.org]
Jan 21 22:18:31 scw-optimistic-leakey caddy[14812]: 2019/01/21 21:18:31 [INFO] [www.mkwp.org]
Jan 21 22:18:37 scw-optimistic-leakey caddy[14812]: 2019/01/21 21:18:37 [INFO] [www.mkwp.org]
Jan 21 22:18:37 scw-optimistic-leakey caddy[14812]: 2019/01/21 21:18:37 [INFO] [www.mkwp.org]
Jan 21 22:18:40 scw-optimistic-leakey caddy[14812]: 2019/01/21 21:18:40 [INFO] [www.mkwp.org]
Jan 21 22:18:40 scw-optimistic-leakey caddy[14812]: done.
Jan 21 22:18:40 scw-optimistic-leakey caddy[14812]: https://mkwp.org
Jan 21 22:18:40 scw-optimistic-leakey caddy[14812]: https://www.mkwp.org
Jan 21 22:18:40 scw-optimistic-leakey caddy[14812]: http://mkwp.org
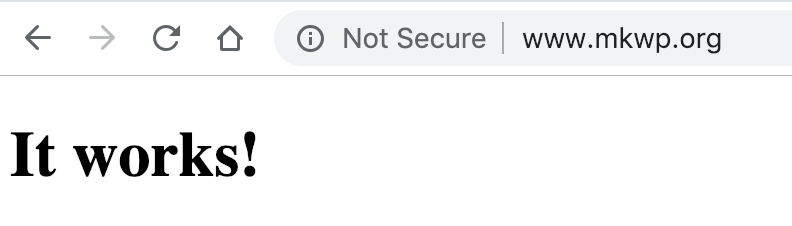
Jan 21 22:18:40 scw-optimistic-leakey caddy[14812]: http://www.mkwp.org#It works!
Head to your website, you should see your “it works” message.
#Set up SSL certificate
If we chose Caddy, it was to serve over HTTPS hassle-free, so let’s get into it.
Open up your Caddyfileconfiguration, remove the http:// to only leave the domain and turn on TLS.
mkwp.org {
    redir https://www.mkwp.org{uri}
}

www.mkwp.org {
  root /var/www/demo
  log /var/log/caddy/mkwp.org.log
  tls on
  gzip
}
Restart your caddy daemon sudo systemctl restart caddy. Head back to your browser, refresh the page, and that’s it. You’re serving over HTTPS!
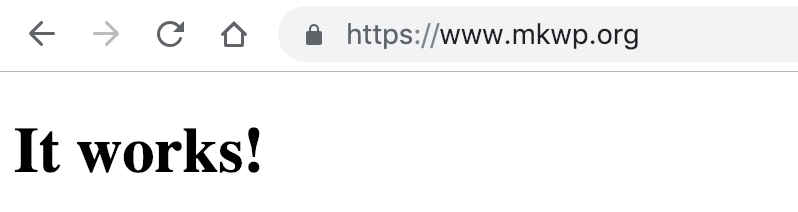
I told you it was easy ? In a next post, I’ll show you how to get certificates on-demand. Typically, if your app let the user bind an external domain to your service, you can get certificates for all of them.
#Install PHP 7.2 FPM (optional)
If you don’t use PHP, feel free to skip this step and go on with your life.
sudo apt install -y curl php7.2-fpm php7.2-cli php7.2-mysql php7.2-zip php7.2-mbstring php7.2-dom php7.2-bcmathVery often, you run many website on the same server. Like your app, your blog, the documentation website, some special marketing mini-site and so on. Some people create one user (typically www-data) to run all their sites with it, but it’s generally recommended to create one per site. It helps isolate your websites, in case one gets hacked, it won’t affect the other site next to it.
Let’s create a new phpdemo user to run simple phpinfo() website.
sudo useradd -M -s /bin/false phpdemo#Create FPM configuration
Create a new configuration file for php-fpm inside the pool.dfolder. I call the file according to the unix user, so in /etc/php/7.2/fpm/pool.d/phpdemo.conf.
[phpdemo]

user = phpdemo
group = phpdemo

listen = /run/php/php7.2-fpm.phpdemo.sock

listen.owner = phpdemo
listen.group = phpdemo
listen.mode = 0660

pm = dynamic
pm.max_children = 5
pm.start_servers = 2
pm.min_spare_servers = 1
pm.max_spare_servers = 3
With listen.owner and listen.group we specified which unix user is going to own the socket (the php7.2-fpm.phpdemo.sock file). In order to ensure that caddy can access it, we’ll add the caddy user to the phpdemo group.
sudo gpasswd -d caddy phpdemoLike we did for Caddy, the daemon needs to be reloaded, started and enabled. We restart caddy, just in case.
sudo systemctl daemon-reload
sudo systemctl restart php7.2-fpm
sudo systemctl enable php7.2-fpm
sudo systemctl restart caddy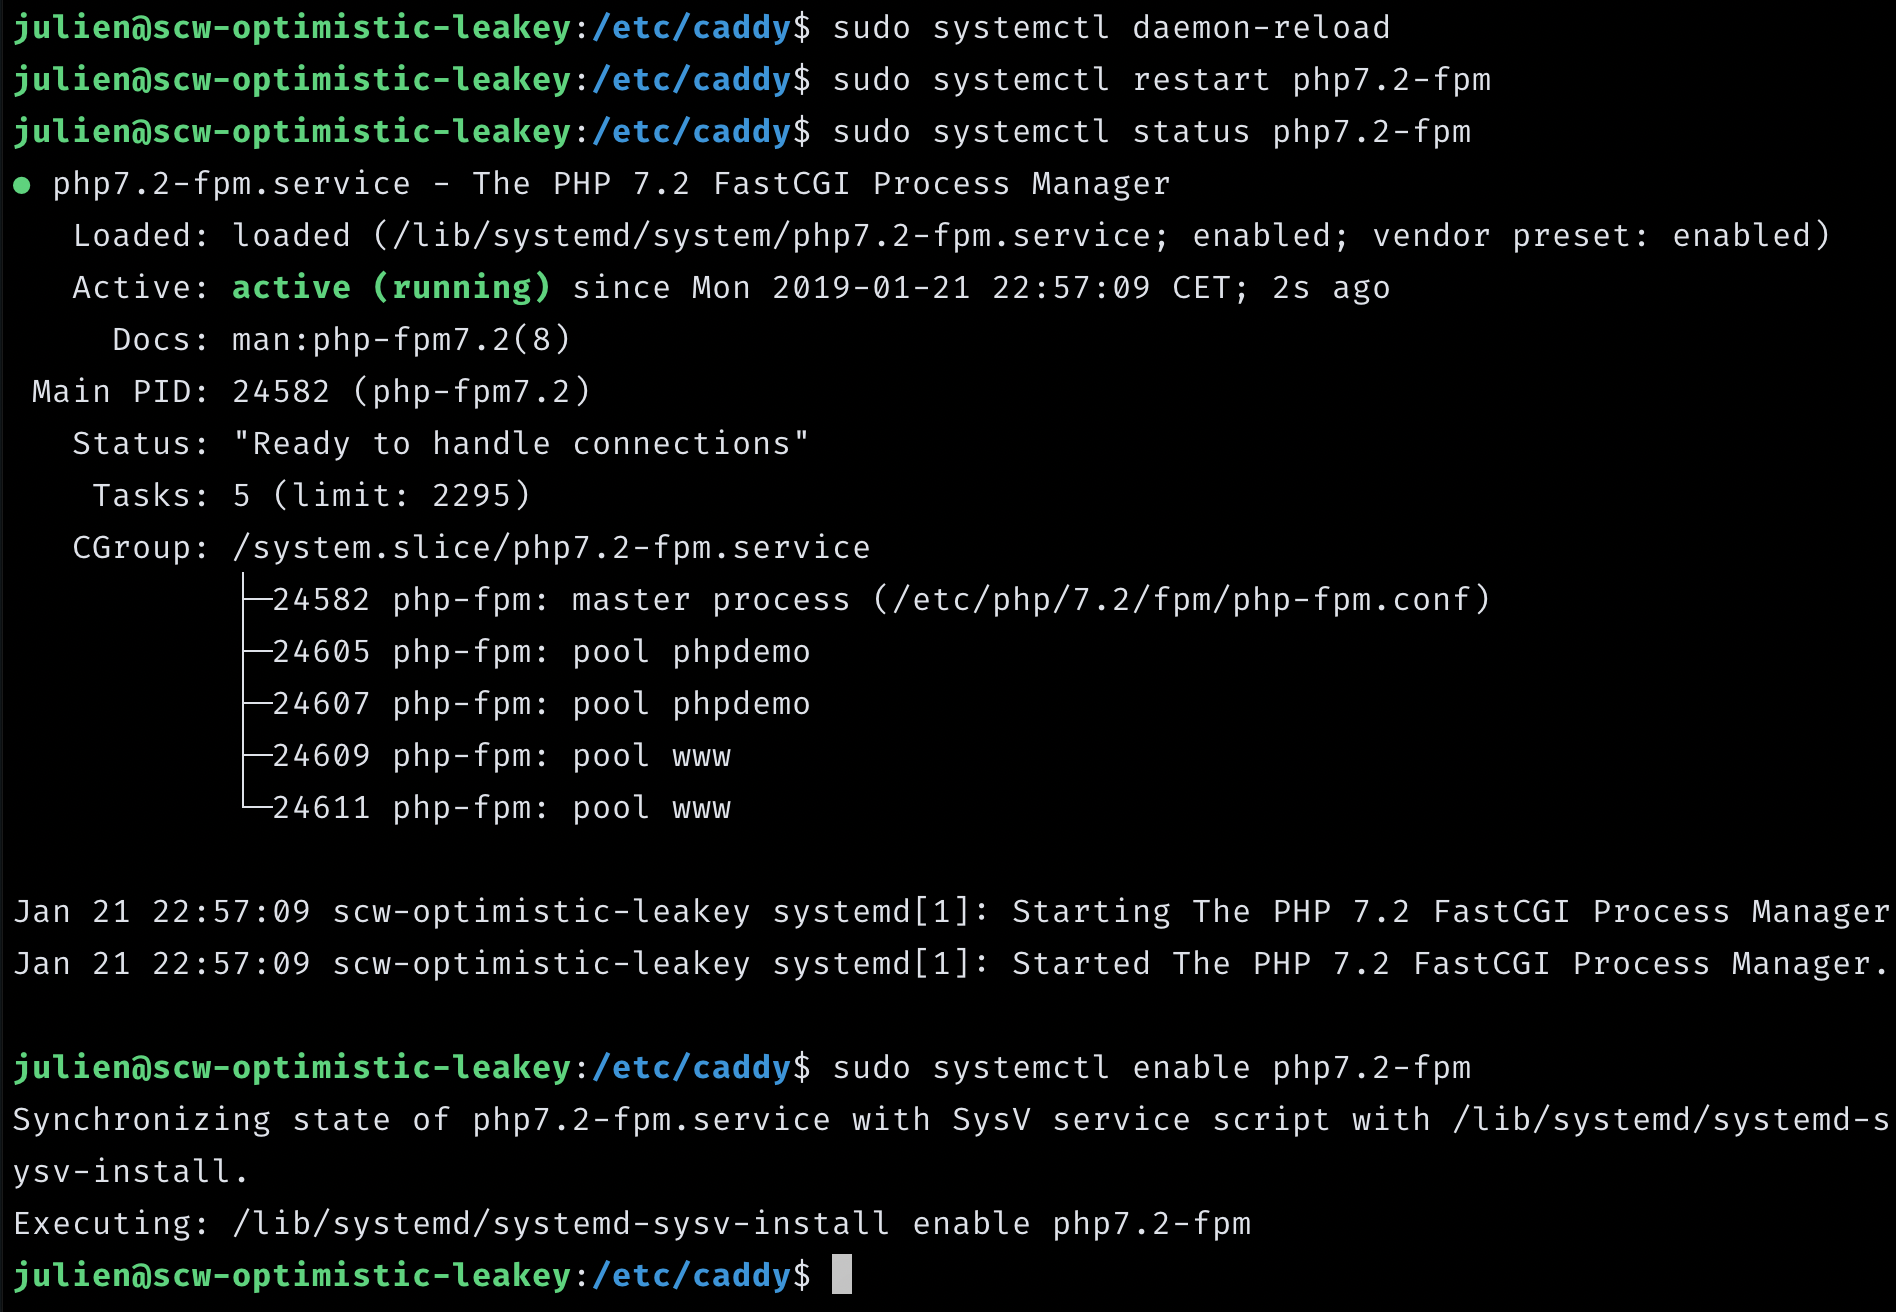
#Create Caddy configuration
Instead of simply modifying the original Caddyfile we created earlier, we’ll rename it to mkwp.org and create a new Caddyfile that imports it and a new file for php.
We could simply put everything in the same file, but in the long run, I prefer splitting it.
Our new Caddyfile will look like
import mkwp.org
import php.mkwp.org
Create the php.mkwp.org file.
php.mkwp.org {
  root /var/www/phpdemo/
  log /var/log/caddy/php.mkwp.org.log
  errors /var/log/caddy/php.mkwp.org.error.log
  tls on
  gzip

  fastcgi / /run/php/php7.2-fpm.phpdemo.sock php
}
Looking at the fastcgi line, you’ll see the php keyword. It’s a shorthand, if you want to be more explicit
you can replace it by the following block. Feel free to edit any value if necessary.
 fastcgi / /run/php/php7.2-fpm.phpdemo.sock {
    ext .php
    split .php
    index index.php
  }
We also added a directive for error logs (since it’s php and not simple HTML). Restart caddy sudo systemctl restart caddyto take this new config into account.
#Create php demo site
Create a simple /var/www/phpdemo/index.php and change the ownership to use the new user we created earlier sudo chown -R phpdemo:phpdemo /var/www/phpdemo.
For this type of test, I typically display the content of phpinfo().
echo '<?php phpinfo();' > /var/www/phpdemo/index.php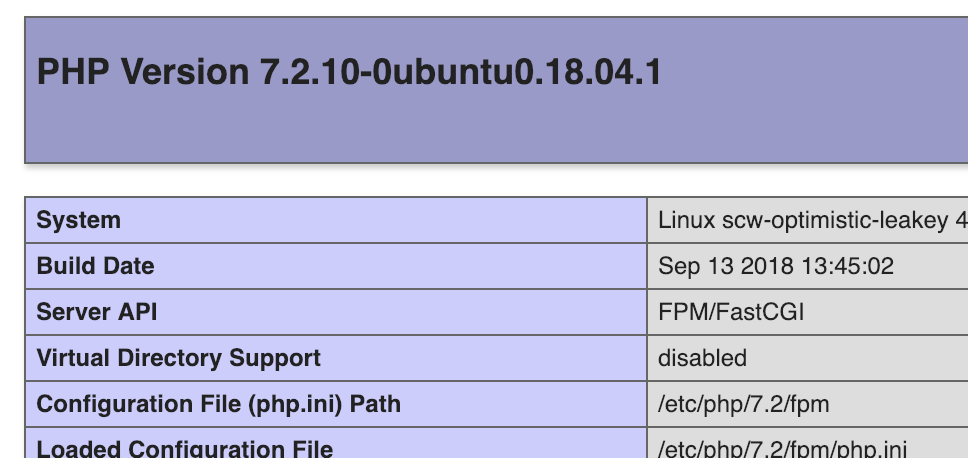
It’s done! If you have issues, please let me know here or on twitter @julienbourdeau, if I can I’ll update this post with a troubleshooting section or at least more details.